Disclaimer: This post contains affiliate links. This means that I will receive a small commission from any purchase made from this post at no additional cost to you.
A creamy, smooth plain vanilla cheesecake that is the perfect canvas to add any flavoring or topping or is perfect just on it’s on.

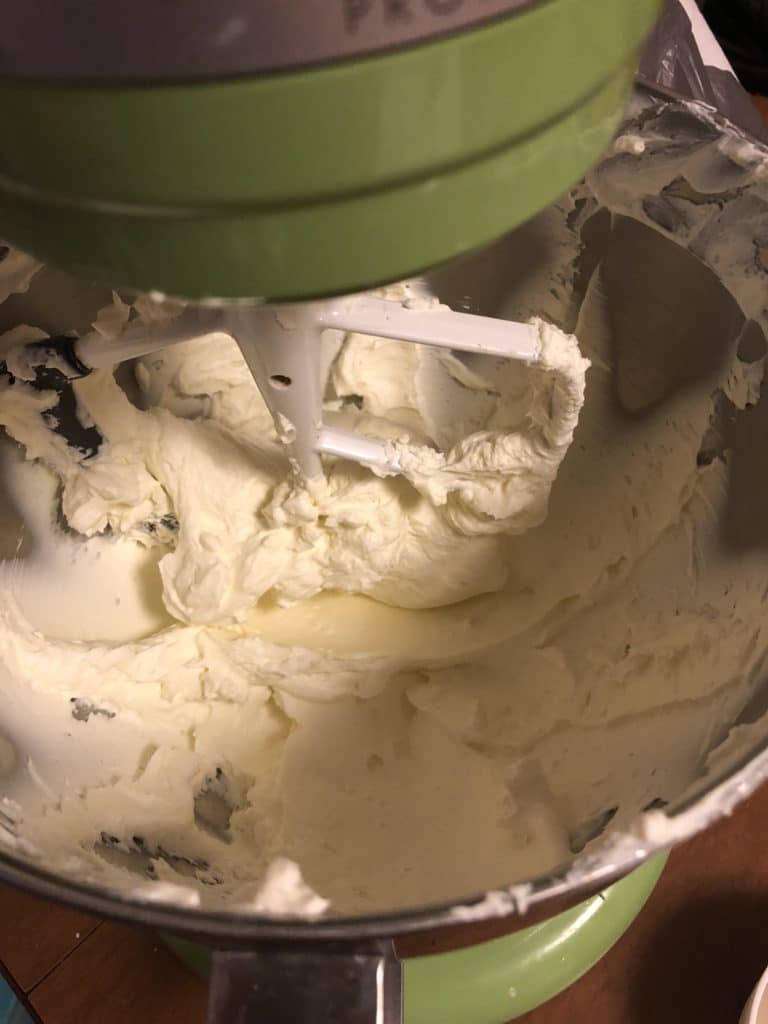
To start the batter, we are going to beat the heck out of this softened cream cheese on medium speed. You are gonna beat this for about 5-10 minutes.
You want this really smooth with no lumps. But, inevitably there will be a chunk when you scrape down the bottom of the bowl so mix for about 2 minutes more after you scrape down the bowl.
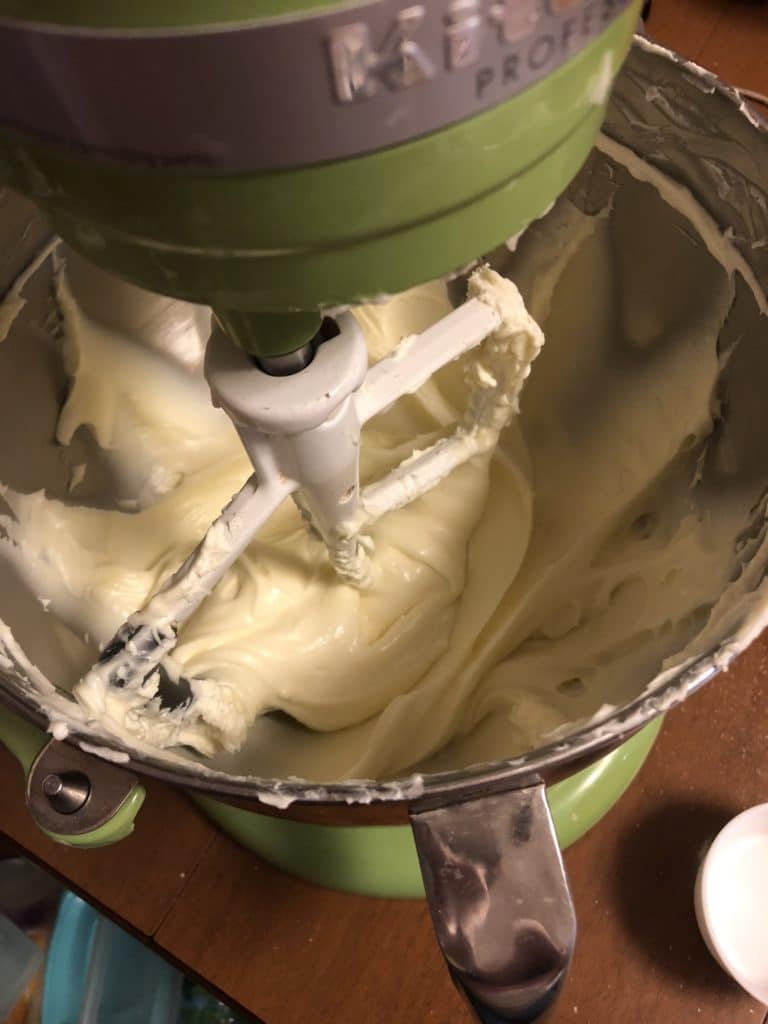
Next, we are going to add the sugar and vanilla extract and beat just until incorporated. Scrape down the bottom and the sides of the bowl and beat once more until smooth.
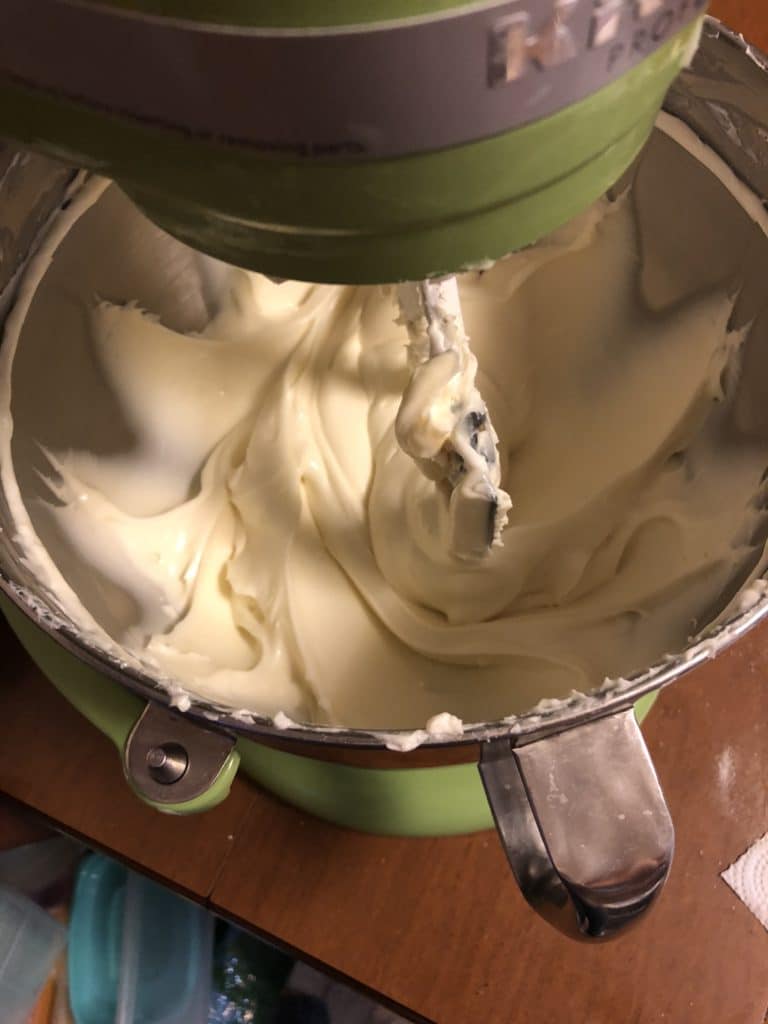
Next, add the greek yogurt and beat until incorporated. Scrape down the bowl and beat once more until smooth. please note that you can use sour cream in place of greek yogurt if you would like. This is your last chance to make sure that the batter is smooth so take advantage of it and scrape down the sides and the bottom of the bowl REALLY well.
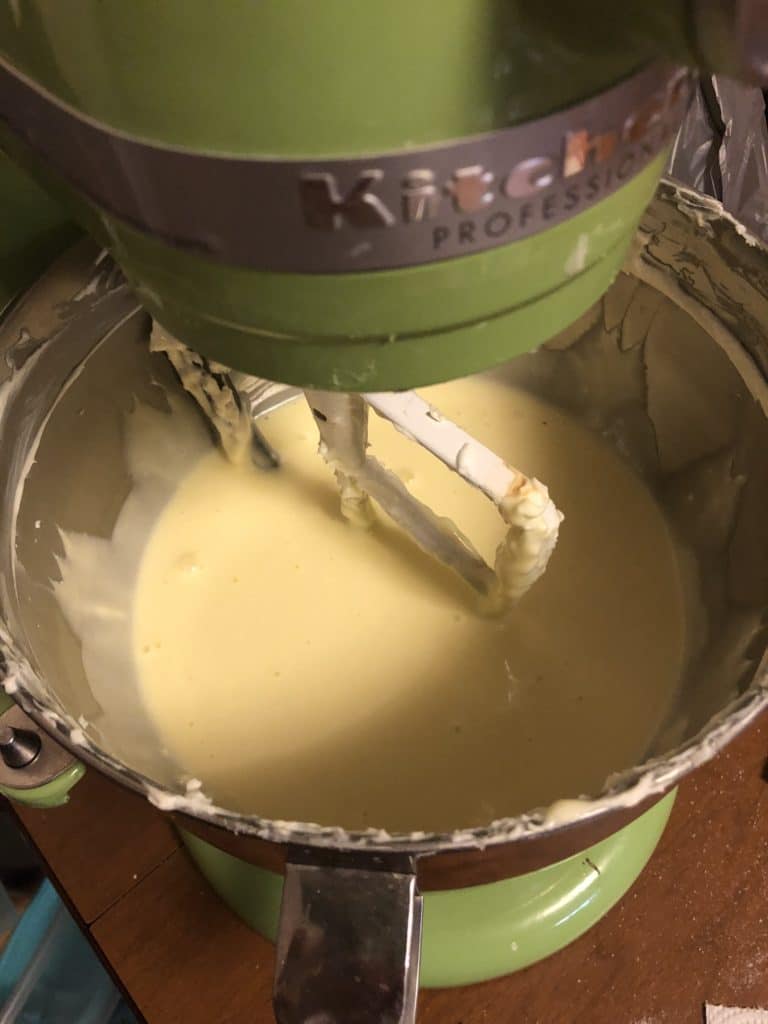
Finally, add the eggs one at a time beating between each addition on low speed just until incorporated on low speed.
Prepare a water bath – Fill a pan that is big enough to fit the springform pan inside (I suggest a roasting pan) with water halfway up the sides of the springform pan. It doesn’t have to be boiling. I have noticed not much of a difference with hot or cold water so I just use cold because it is easier.
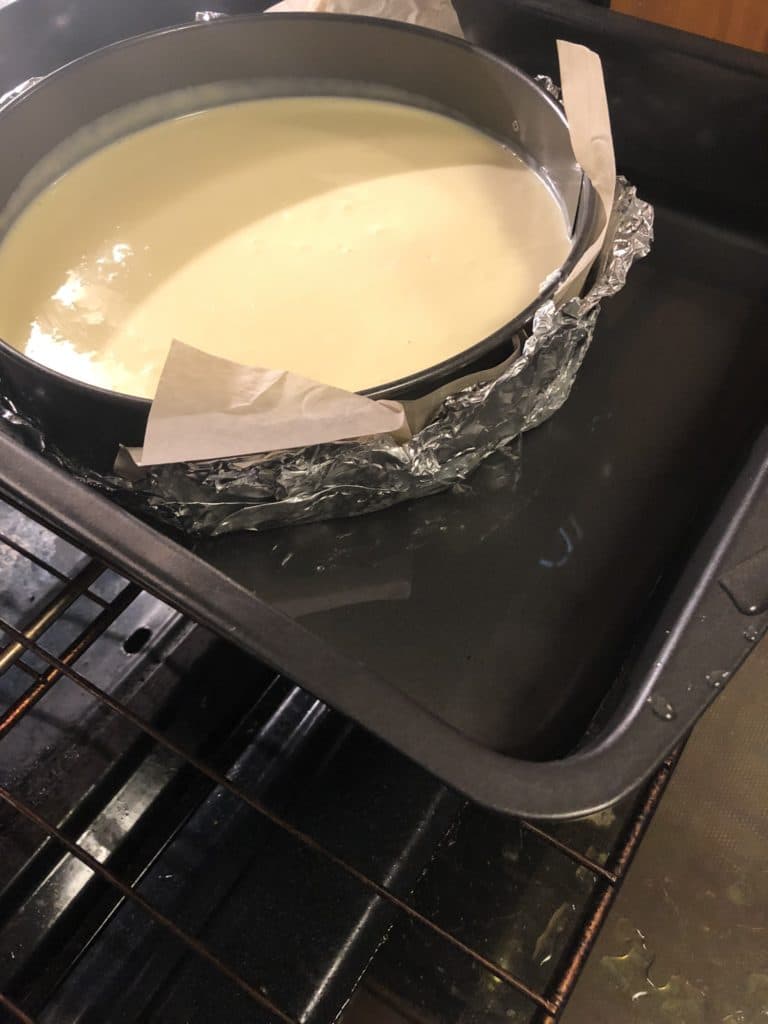
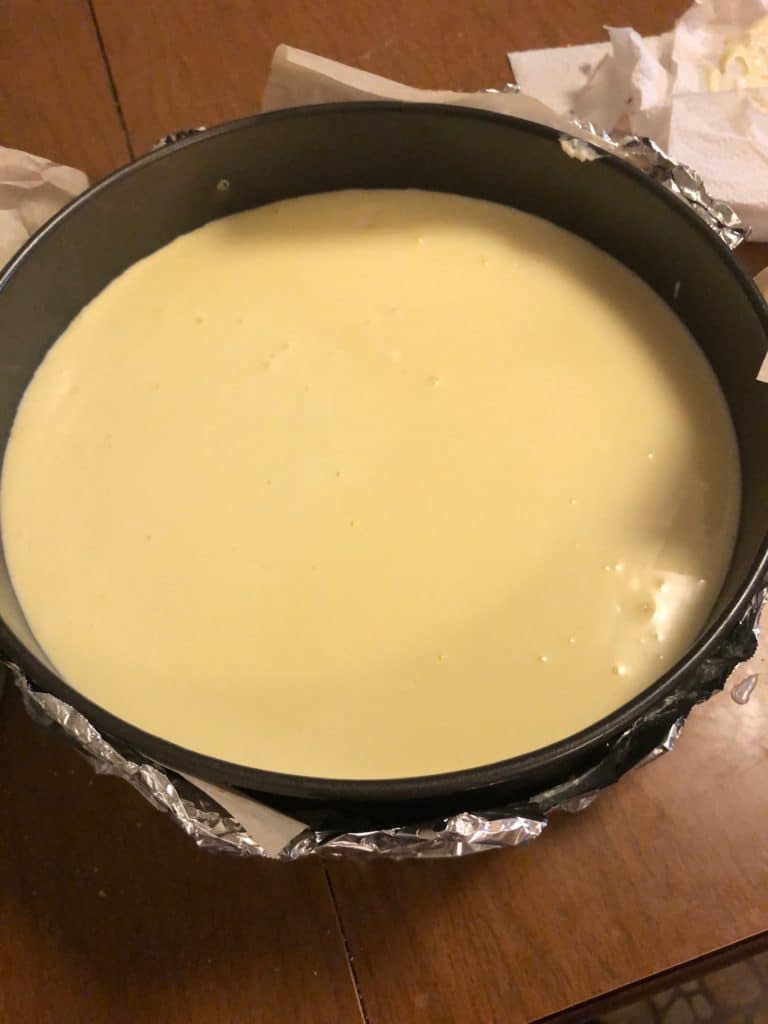
Pour the batter on top of the prepared crust. Level off the batter and tap the pan on the work surface a few times to get rid of any air bubbles.
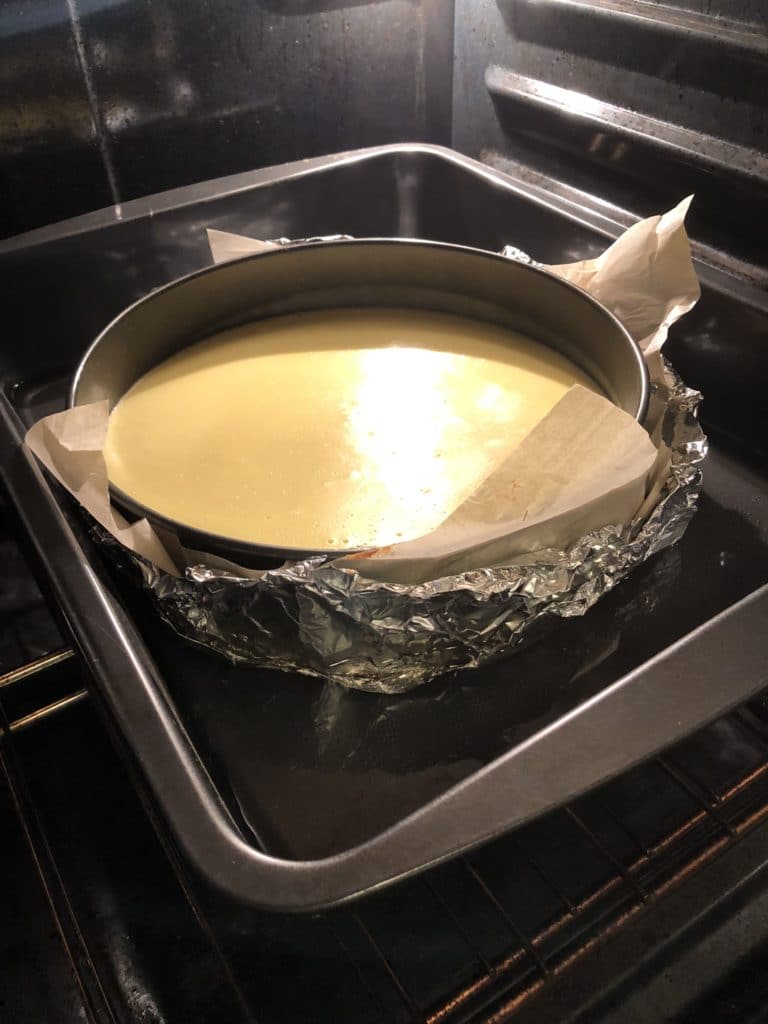
Place the cheesecake in the water bath and bake for one hour or until the sides of the cheesecake are set but the middle jiggles slightly. (there is a video of this also on my clumsy cakes facebook page) Don’t open the oven door during baking.. Only when checking for doneness. After you cheesecake is done shut off the oven and crack the oven door. Leave the cheesecake in there for an additional hour. This is to allow it to cool gently and slowly to prevent any cracks on the top of the cake.
Take the cheesecake out of the oven, cover with clear plastic wrap and place in the fridge overnight to set. In the morning you are going to un-mold your cheesecake:
- Take off the wrap and either dip an offset spatula in hot water or run it under hot water from the sink. Dry it off and proceed to run the spatula all the way around the cake between the side of the cake and the side of the pan. Release the sides of the pan.
- Place a piece of waxed paper or a piece of parchment paper onto the cheesecake followed by a light cutting board. (If you are a heavier cutting board you run the risk of squashing the cheesecake when you go to flip it over.
- Using the cutting board and the bottom of the springform pan flip the cheesecake over.. Take off the bottom of the pan and the parchment paper and place whatever you are going to use to serve the cheesecake on top of the crust.
- Using that and the cutting board on the bottom, flip the cheesecake back over.
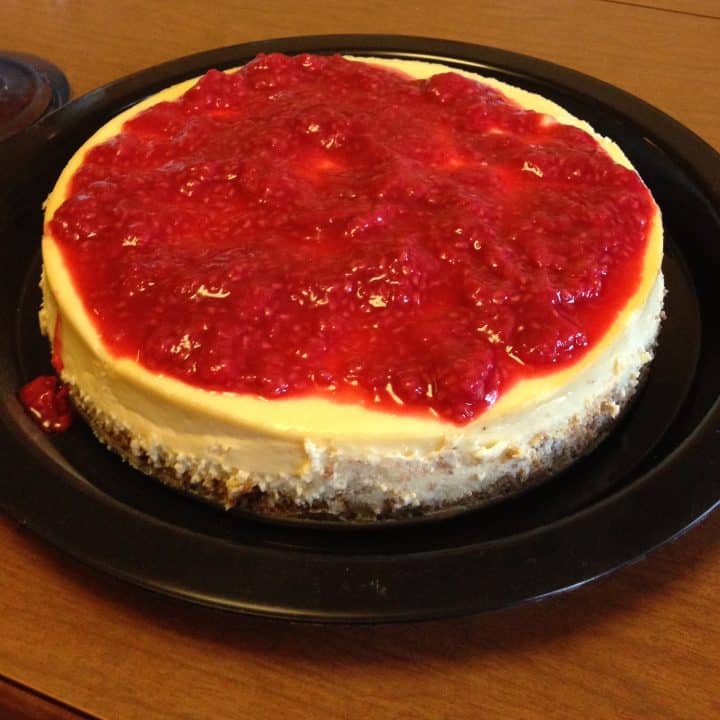
- Take off the parchment paper and top the cheesecake with the topping of your choice.
There is also a video of this on my clumsy cake facebook page. if you are a visual learner, like me. Enjoy 🙂 You earned it!
A creamy, smooth plain vanilla cheesecake that is the perfect canvas to add any flavoring or topping or is perfect just on its on.. 13. Add desired topping and enjoy the fruits of your very intense labor! 🙂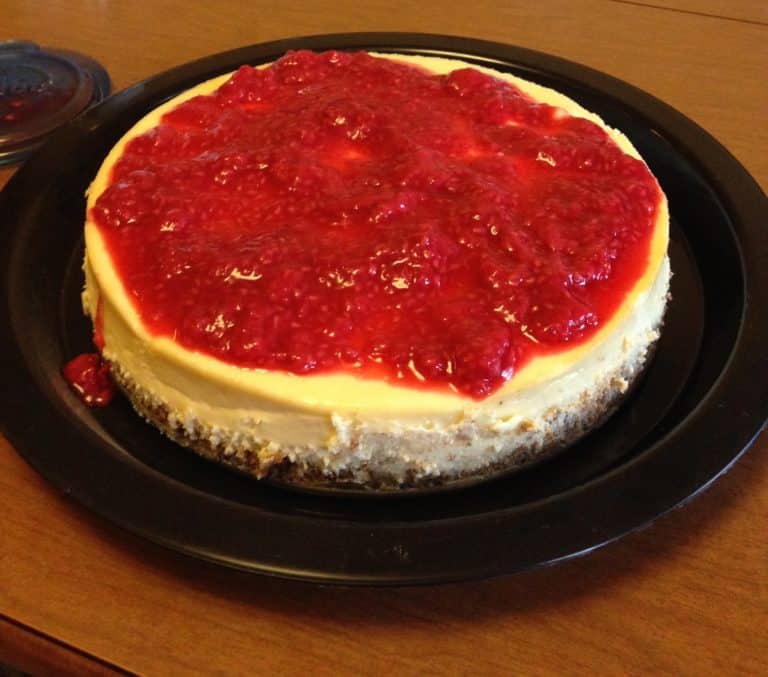
Plain Vanilla Cheesecake
Ingredients
Instructions
You Also May Like:
Chocolate, Guinness and Mint Cheesecake
If you have any questions or comments please don’t hesitate to leave a comment down below, message me on instagram, Facebook or leave me an email.
Facebook –facebook.com/Clumsy-Cakes-2058041137644585
Instagram-instagram.com/clumsy-cakes
pinterest –pinterest.com/clumsycakes
email – [email protected]
I love cheesecakes but, it is so scary to bake them.. Very detailed instructions. and I like that you have added pictures for each step. would love to try it soon! Thanks for sharing!
You’re so welcome. It looks very scary with all of the different steps but I promise you its not.
Looks delicious! I love that you have a photo for every instruction! Gotta love classic vanilla cheesecake 🙂
It’s so good! And it really is the base for any cheesecake you want. Once you know how to make this, the sky is the limit! I always strive to make everything really clear but this I really wanted to make clear because this one is the foundation.
Look yummy! Cheesecakes are my personal fav!
Oh, I got you covered then! That’s all I do. I post new recipes on Thursdays. Come back and visit!